After so much experimenting in the previous posts Sian advised me to make a decision on the basis of 2 developments that were essential to me, and that I felt I wasn't prepared to sacrifice. It was good advice because it made me polarise my thoughts and I decided to go for the lace style panels that I had in mind right from the very beginning of the design, and the metal frame.
I was very lucky that someone on a Bernina forum gave me the instructions for switching off the alert on my machine when working with no thread in the needle so I was able to stitch velum as I wanted to and then stitch back into it by hand.
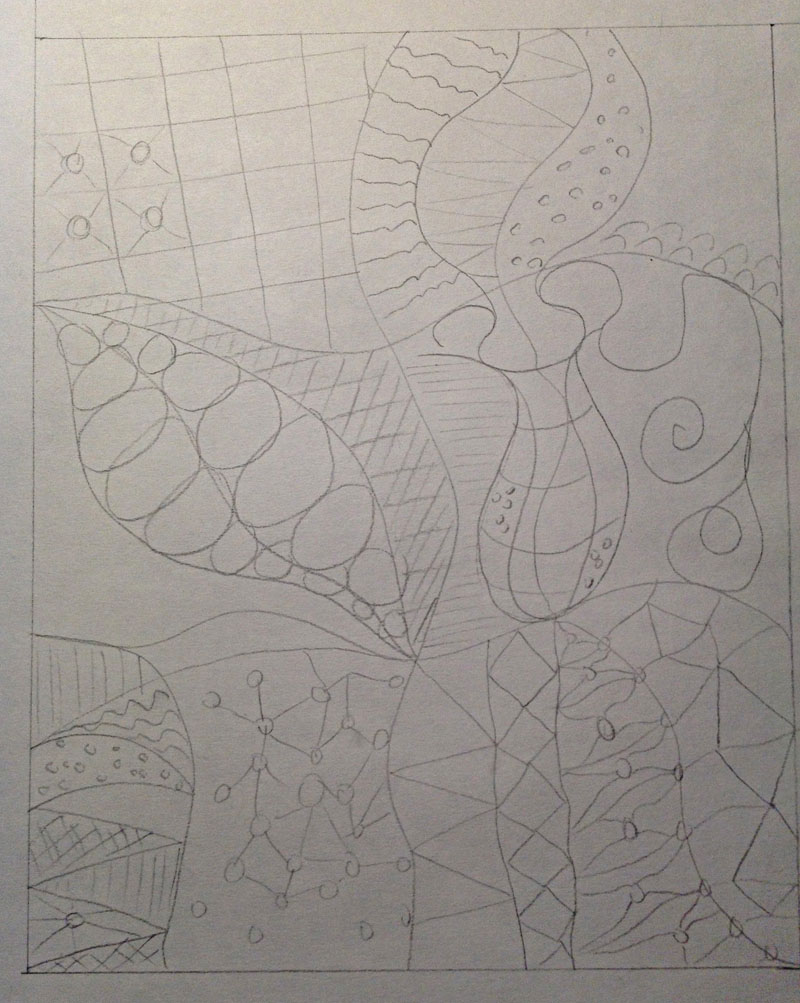
My first task was to create the designs, of which there are 2, to the right size to fit the frame and be manageable by machine.
Design 1 was a version of the first lace panel that I made.

PAP 1
PAP 2
But it has more diamond shapes incorporated to help integrate the metal framework of the piece.

PAP 3
Next I started work on the panels themselves.

PAP 4

PAP 4
In the panels above you can see the velum panels and also panels that have been worked on Mulbury paper, with 2 layers of W/S stabiliser beneath. At this stage it hasn't been washed out.

PAP 5
In both the panels above you can see how they've been put together to give a smooth transition between each panel. this has been achieved by tearing each panel, giving an uneven edge.
The panel on the left has been worked on a very fine handmade paper, which require very careful washing out of the stabiliser, and as I did it I made holes in the paper for a distressed effect. The right hand panel has been created with the stronger and thicker Mulberry paper.
These 2 panels will be joined with a lace panel that has no ground and has been worked in FME on 2 layers of W/S medium. It was very tricky to wash out and I nearly lost the whole lot under the shower, which was a disastrous thing to do. But having saved it I'm really pleased with the loose look of it.

PAP 6

PAP 7

PAP 8

PAP 8
I have now started to construct the full size frame which is 1 metre in height.

PAP 9
The metalwork will be painted cream when it's finished.
The panel is only loosely in situ just to give an idea of how it will look when finished.
I love the delicacy you have achieved. Would make a spider jealous:-)
ReplyDeleteThis is looking really good. Its always difficult to give up ideas! But one thing I have learnt with this course is ' keep it simple'. can't wait to see the end result.
ReplyDeleteThis is just amazing, Sharon! I love the effect of the gradual transition between the vellum and the two types of paper, and the initial photos of the panels on the frame are looking very effective. What a unique and beautiful lampshade - not to mention conversation piece - you will have at the end of this!
ReplyDeleteJanice.
Well done you are nearly there,your ideas have produced a lovely light and lacy piece.I look forward to seeing it in its completed form.
ReplyDeleteoh my...6, 7 and 8 are so beautiful Sharon as are your paper pieces. Next to last one, wow!! Relieved??
ReplyDeletehttp://karenannruane.typepad.com/karen_ruane/